Integrating Authorize.Net with BATS
Obtain API Integration Keys from Authorize.net:
- In BATS, navigate to Setup > System Settings then in the Merchant Profile select Authorize.NET as the Merchant Platform. Keep this page open.
- Open a new tab or a page and sign in to the Authorize.net Merchant Interface
- Ensure that you are using the New Merchant Interface (2.0)
- Click Account from the left navigation.
- Click Account and API Settings under Account.
- Under Security Settings, select API Credentials & Keys.
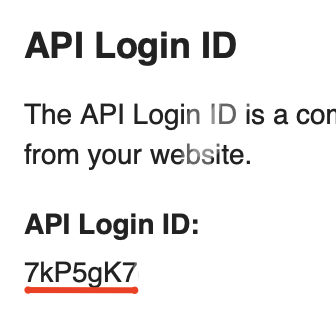
- You will see the API Login ID on the page, copy and paste into BATS "Login ID" field.
- Example:
Click on GENERATE NEW
TRANSACTION KEY button in Authorize.NET page:

Names of these API Keys are very similar, make sure that you click on the correct button.
System will generate a new key. Copy it and paste into BATS “Transaction Key” field.
 Beware: this key is displayed only once in Authorize.net website, once you close the dialog box you cannot see it again.
- Click on GENERATE NEW PUBLIC CLIENT KEY button in Authorize.NET page:

- System will generate a new key. Copy it and paste into BATS “Public Client Key” field.
- Click the Save button in System Settings to save your changes
- If you need to make changes to these keys in BATS at a later time, you must click the pencil icon first to enable editing of these fields:

 Names of these API Keys are very similar, make sure that you click on the correct button.System will generate a new key. Copy it and paste into BATS “Transaction Key” field.